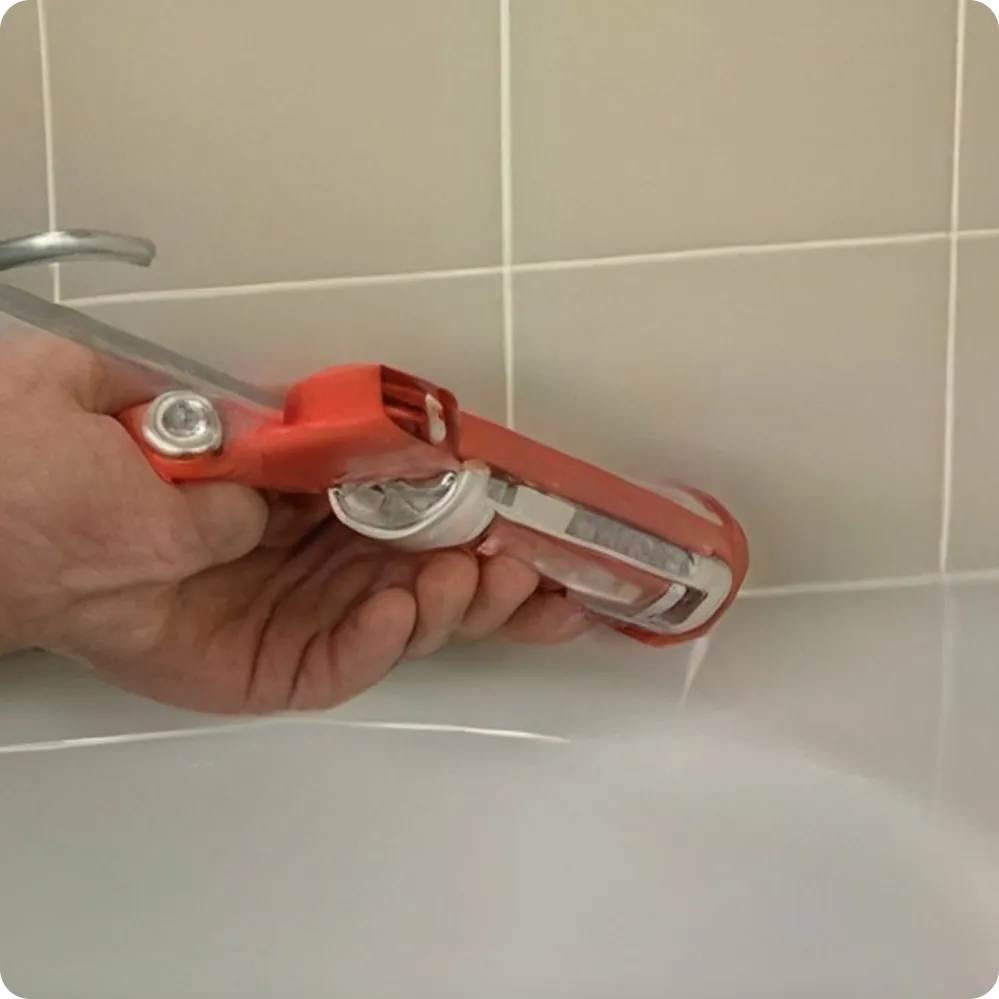
Keeping tile surfaces clean and bright is essential for maintaining a healthy, attractive home environment. Over time, dirt, soap scum, and mineral deposits can dull the appearance of both floor and wall tiles, while grout lines may become stained or develop mold. Regular cleaning not only enhances visual appeal but also extends the lifespan of the installation, reduces slip hazards, and prevents the buildup of allergens. This article outlines the key considerations, methods, and best practices for effective tile cleaning, helping homeowners achieve a sparkling result without the need for professional services.
Understanding Tile Types and Their Cleaning Needs
Different tile materials react uniquely to cleaning agents and techniques. Recognizing the composition of your tiles ensures that the chosen method will not cause damage.
Ceramic and Porcelain Tiles
- Highly durable and resistant to moisture.
- Generally safe for most pH-neutral cleaners.
- Avoid acidic solutions (e.g., vinegar) on unglazed surfaces to prevent etching.
Natural Stone Tiles (Marble, Slate, Travertine)
- Porous and sensitive to acidic or abrasive cleaners.
- Use pH-balanced, stone-specific cleaners.
- Seal grout and stone periodically to protect against stains.
Glass and Mosaic Tiles
- Prone to water spots and mineral deposits.
- Soft, non-abrasive cloths or sponges are recommended.
- Rinse thoroughly to avoid residue buildup.
Preparing for a Deep Clean
Before tackling the cleaning process, a systematic preparation phase reduces the risk of damage and improves efficiency.
- Clear the area: Remove rugs, furniture, and decorative items to expose the entire tiled surface.
- Dust and sweep: Eliminate loose debris with a microfiber mop or soft broom.
- Test cleaning solutions: Apply a small amount to an inconspicuous spot to verify compatibility.
- Gather tools: Soft-bristle brush, non-scratch scrub pad, bucket, squeegee, and a spray bottle.
Step-by-Step Tile Cleaning Process
1. Choose the Right Cleaner
Select a cleaner based on tile type. For ceramic and porcelain, a mild dish soap diluted in warm water works well. For natural stone, opt for a stone-specific, pH-balanced formula. If you need a stronger solution for stubborn grime, a commercial tile cleaner labeled safe for your tile material is appropriate.
2. Apply the Cleaner
- Spray the solution evenly across the surface.
- Allow it to dwell for 2-3 minutes; this loosens dirt without saturating the grout.
- For heavily soiled areas, gently agitate with a soft-bristle brush.
3. Scrub the Grout Lines
Grout typically holds the most dirt. Use a grout-specific brush or an old toothbrush to work the cleaner into the joints. For deep stains, a paste of baking soda and water can be applied, then lightly scrubbed.
4. Rinse Thoroughly
Residue can attract new dirt. Rinse the tiles with clean, warm water using a mop or a clean sponge. Change the rinse water frequently to avoid re-depositing grime.
5. Dry and Polish
- Use a microfiber towel or a dry mop to remove excess moisture.
- For glossy tiles, a quick polish with a dry microfiber cloth restores shine.
- Open windows or run a fan to promote airflow and speed up drying.
Maintaining Tile Cleanliness Between Deep Cleans
Regular maintenance prevents the need for intensive cleaning sessions and keeps tiles looking their best.
- Wipe spills immediately to avoid staining.
- Sweep or vacuum daily to remove grit that can scratch surfaces.
- Use a pH-neutral floor cleaner for routine mopping.
- Apply a sealant to grout and porous stone every 12-18 months.
Common Mistakes to Avoid
- Using abrasive pads: Steel wool or harsh scrubbers can scratch glazed tiles.
- Applying acidic cleaners on stone: Vinegar, lemon juice, and bleach can etch or discolor natural stone.
- Neglecting grout sealing: Unsealed grout absorbs stains more readily.
- Over-wetting the area: Excess water can seep into subfloors, leading to mold growth.
When Professional Assistance May Be Warranted
Although many homeowners can achieve excellent results with DIY methods, certain situations call for expert intervention:
- Extensive mold or mildew growth within grout.
- Deep stains that persist after multiple cleaning attempts.
- Large commercial spaces where time constraints demand rapid, uniform results.
For detailed guidance on evaluating whether professional tile cleaning is appropriate, Read more about this topic.
Additional Resources
Further information on specific cleaning products, sealing techniques, and troubleshooting common tile issues can be found through reputable online guides. Explore these resources to deepen your understanding:
By following the outlined steps and adopting a consistent maintenance routine, tile surfaces can retain their brilliance and durability for years to come. A clean, well-maintained tile floor not only enhances the aesthetic appeal of a home but also contributes to a healthier indoor environment.