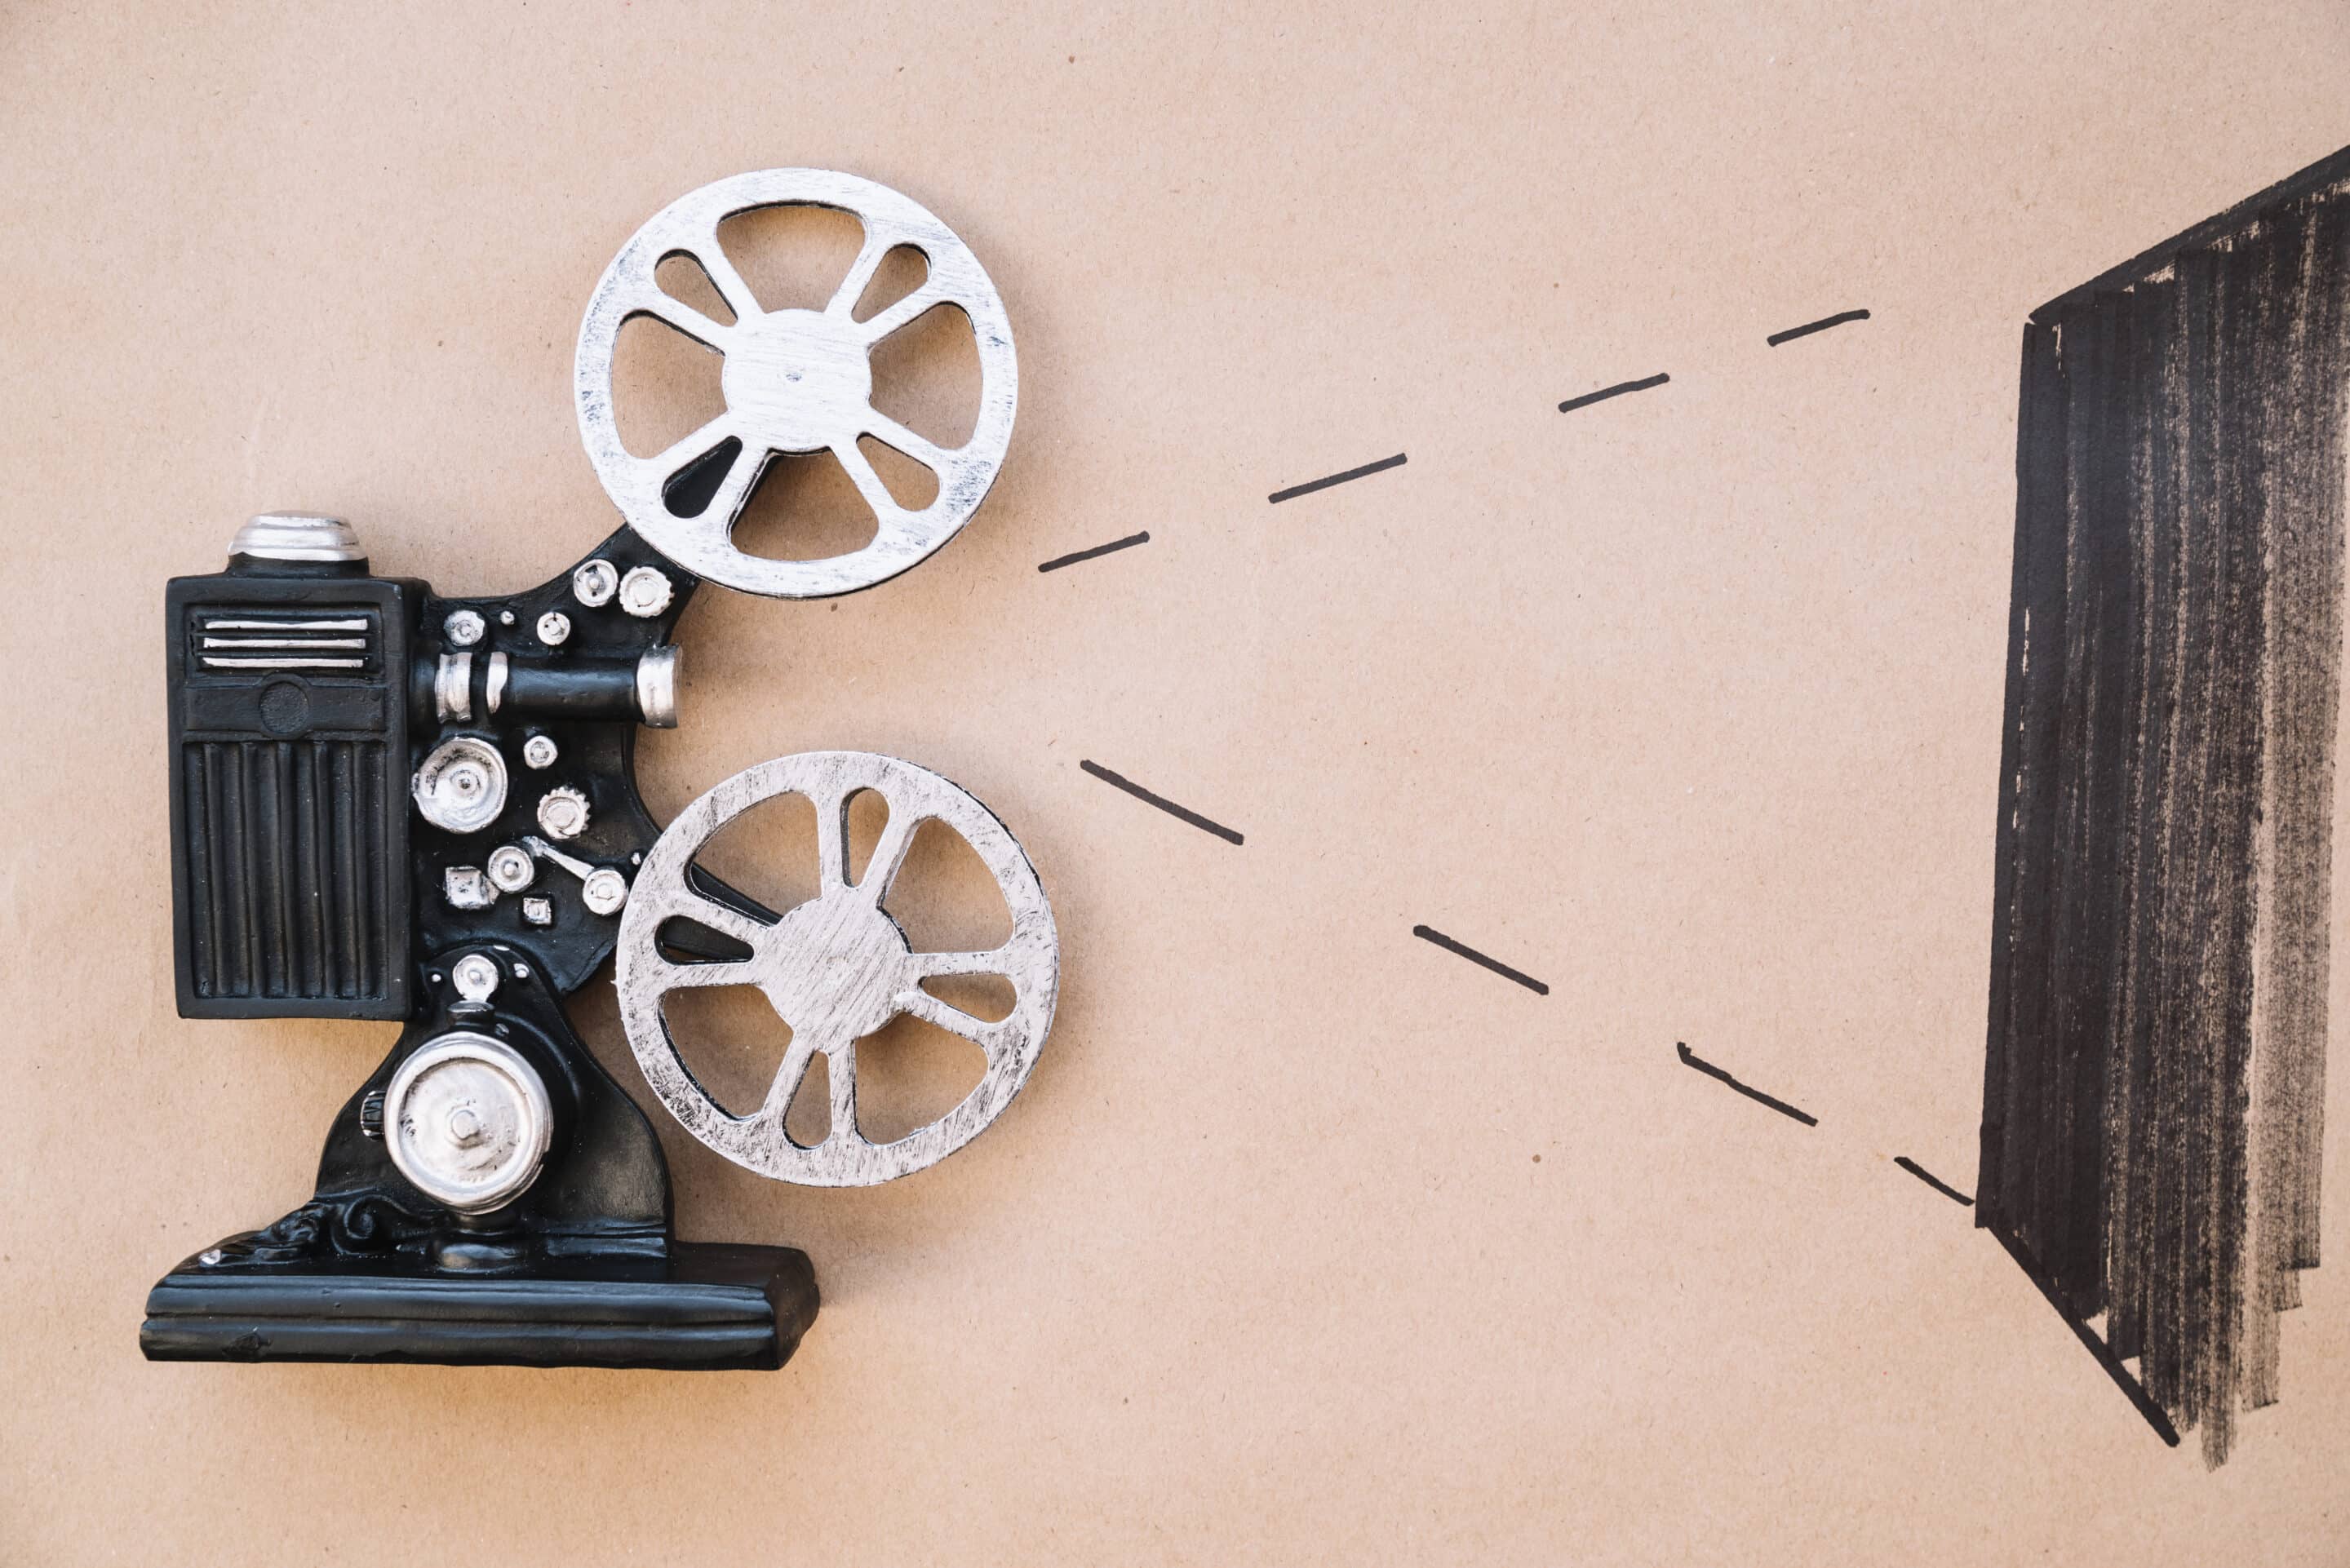
Film reels hold memories that span generations, but the physical medium is vulnerable to wear, temperature fluctuations, and accidental damage. Converting old film to digital not only safeguards these images for the future, it also makes them instantly shareable across modern platforms. Yet many worry that the digitization process will sacrifice the fine grain, contrast, and color nuance that give analog footage its distinctive character. This article outlines the technical steps, equipment choices, and best-practice workflows that ensure a high-fidelity digital copy while preserving every ounce of image detail.
Why Digital Conversion Is Essential
Before diving into the how-to, it helps to understand the why. Physical film deteriorates over time due to:
- Chemical decay (vinegar syndrome, color fading)
- Physical abrasion from handling
- Environmental stress (humidity, heat, light exposure)
By transferring the content to a lossless digital format, archivists gain:
- Permanent storage on redundant media
- Easy access for editing, restoration, and distribution
- Protection against accidental loss or damage
Preparing the Film for Transfer
Inspection and Cleaning
A clean, well-examined reel is the foundation of a successful digitization. Follow these steps:
- Visually inspect each strip for scratches, dust, and mold.
- Use a soft, lint-free cloth and a film-safe solvent to remove surface contaminants.
- Document any damage; this informs later restoration decisions.
Choosing the Right Format
Not all film gauges are equal. Determine the format, 8 mm, 16 mm, 35 mm, or larger, before selecting equipment. Larger gauges typically contain more detail, so a higher-resolution scanner is advisable.
Scanning Technologies and Their Impact on Detail
Two primary technologies dominate professional film digitization: telecine and dedicated film scanners. Each has strengths that affect image fidelity.
Telecine Transfer
Telecine machines run film through a high-speed gate, converting each frame to an electronic signal. Modern telecines can output 4K or higher resolutions, but they may introduce subtle motion artifacts if not calibrated correctly.
Dedicated Film Scanners
These devices capture each frame individually using a high-resolution sensor, often delivering 8K or greater detail. The slower, frame-by-frame approach preserves grain structure and color depth, making it ideal for archival work.
For a detailed comparison of these methods, Explore advanced guides and tips that break down the technical trade-offs.
Optimal Settings for Maximum Detail
- Resolution: Aim for at least 2× the native film resolution. For 35 mm, 4K (4096 × 2160) is a practical minimum; 8K yields the most grain fidelity.
- Bit Depth: Use 10-bit or higher color depth to capture subtle tonal variations.
- Color Space: Record in a wide-gamut space such as Rec. 2020 or Adobe RGB to preserve hue accuracy.
- Scanning Speed: Slower scans (e.g., 2-3 fps) reduce motion blur and allow the sensor to gather more light.
- Film Gate Alignment: Ensure the film lies flat and centered to avoid keystone distortion.
Post-Processing Without Compromising Authenticity
After capture, a gentle workflow can clean up imperfections while retaining the original look.
- Dust & Scratch Removal: Apply selective frame-by-frame tools rather than bulk filters.
- Color Correction: Use reference charts (if available) to balance white point and gamma.
- Grain Management: Preserve natural grain; avoid aggressive noise reduction that smooths detail.
- Export Format: Choose lossless codecs such as ProRes 422 HQ or FFV1 for archiving; create compressed copies (H.264/H.265) for everyday viewing.
Guidance on fine-tuning these steps can be found in resources like Find out more about this approach, which offers practical examples from real-world projects.
Storage and Preservation of Digital Files
Digitization is only as good as the storage strategy behind it. Follow these best practices:
- Maintain at least three copies: two on geographically separate hard drives and one on a reputable cloud service.
- Use checksums (MD5 or SHA-256) to verify file integrity over time.
- Refresh media every 5-7 years to avoid bit rot.
- Document metadata, including original film format, scan settings, and any restoration steps, in a standardized schema (e.g., METS/ALTO).
Choosing a Professional Service
When in-house resources are limited, partnering with a specialist can ensure optimal results. Look for providers that:
- Offer both telecine and high-resolution scanner options.
- Maintain a climate-controlled lab for film handling.
- Provide transparent workflow documentation and sample outputs.
For an overview of what a top-tier conversion service entails, Discover expert strategies here. The page outlines equipment standards, quality control measures, and typical turnaround times.
Conclusion
Converting old film to digital without losing image detail is a meticulous process that balances technology, technique, and preservation ethics. By carefully preparing the film, selecting the appropriate scanning method, applying precise capture settings, and following disciplined post-processing and storage protocols, the original visual richness can be faithfully retained for future generations. Whether undertaken in-house or through a seasoned service provider, the ultimate goal remains the same: to protect cinematic heritage while making it accessible in today’s digital landscape.